Wednesday, September 23, 2015

Scratch build the bullet chute for the side door miniguns...

I stole these two sets of minigun from another kit and for the VNAF set up, there are the bullet chute attached to catch the bullets when they are firing like these photos reference. I sketched something up so I know exactly what to do.... The making of the bullet chute in progess... Here are the finished chutes mounting to the guns and ready to paint....

VNAF 213th Helicopter Sq. UH-1H Gunship - Da-Nang AFB.

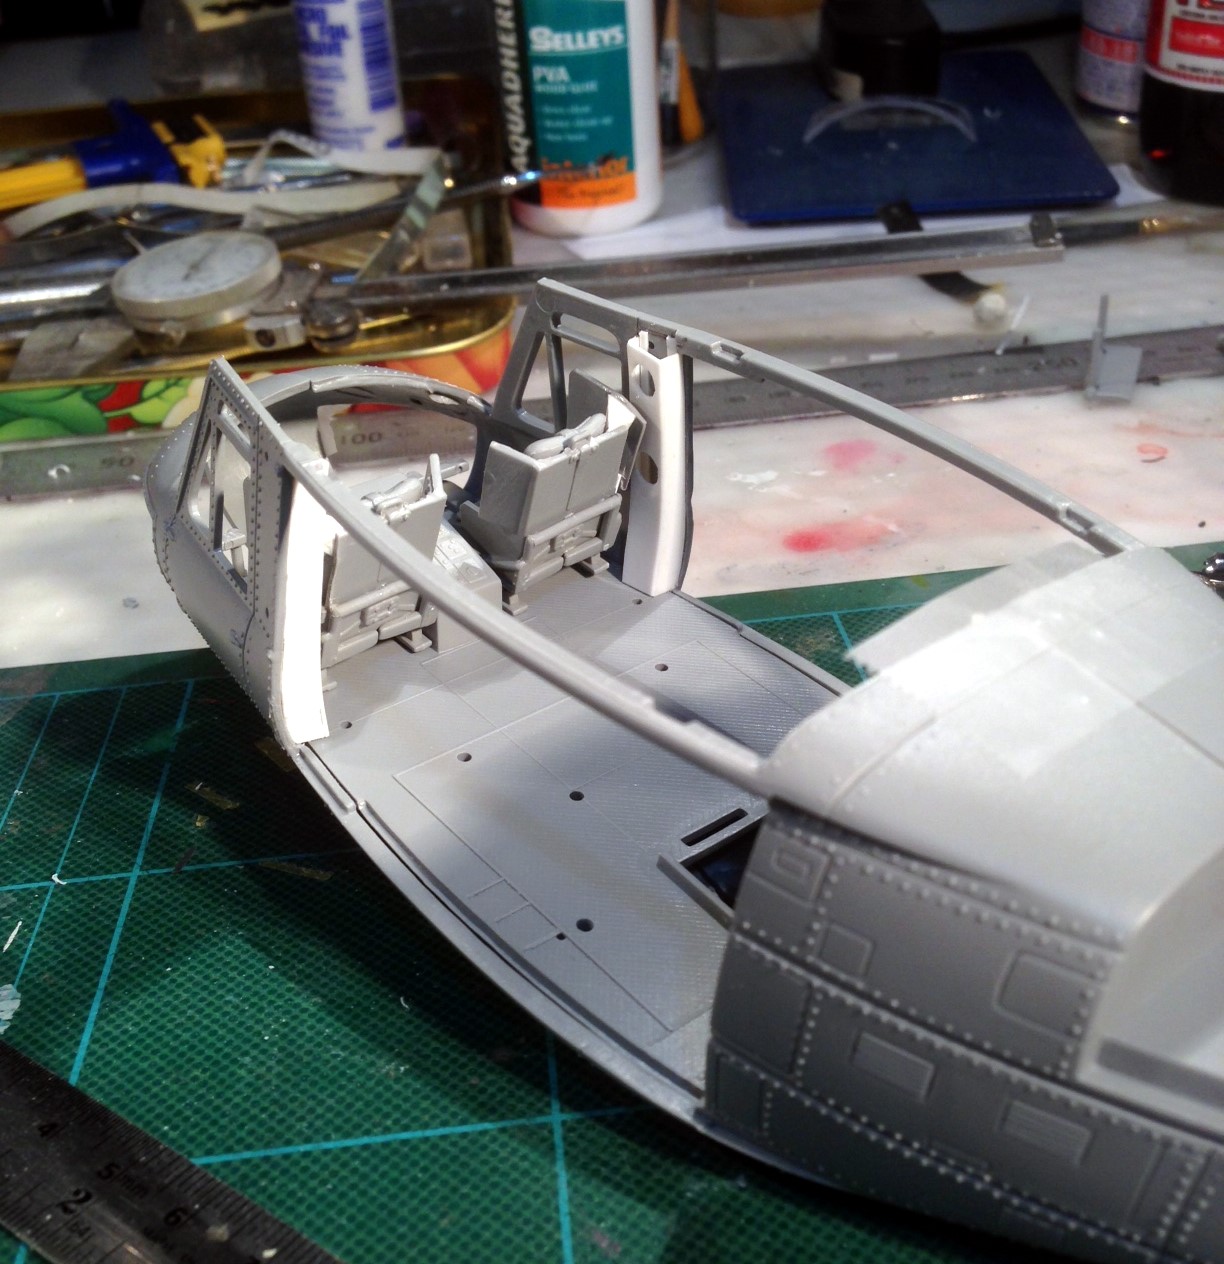
I've been away for too long....it's about time for some updates... Cockpit and pilots painted and assemble...I used a matt black paint for undercoat then finished off the pilots and seats etc. with artist oil paints....applied straight on...just like doing oil painting on canvas....

Sunday, December 15, 2013

1/35 UH-1H VNAF 213rd Helicopter Squadron, Da-Nang AFB


This is the kit....1/35 scale UH-1D by Dragon. And I am going to modify it to the H model.

And here is the plan, initially I wanted to build a "slick" Huey like this illustration with a rare camouflage of the 217th HS based at Binh-Thuy AFB.
Then I changed my mind to do a gunship of the 213rd HS based at Da-Nang for the memory of a friend of our family who was the 213th gunship pilot, a truth hero who passed away recently...


Saturday, December 25, 2010

Photo editing...

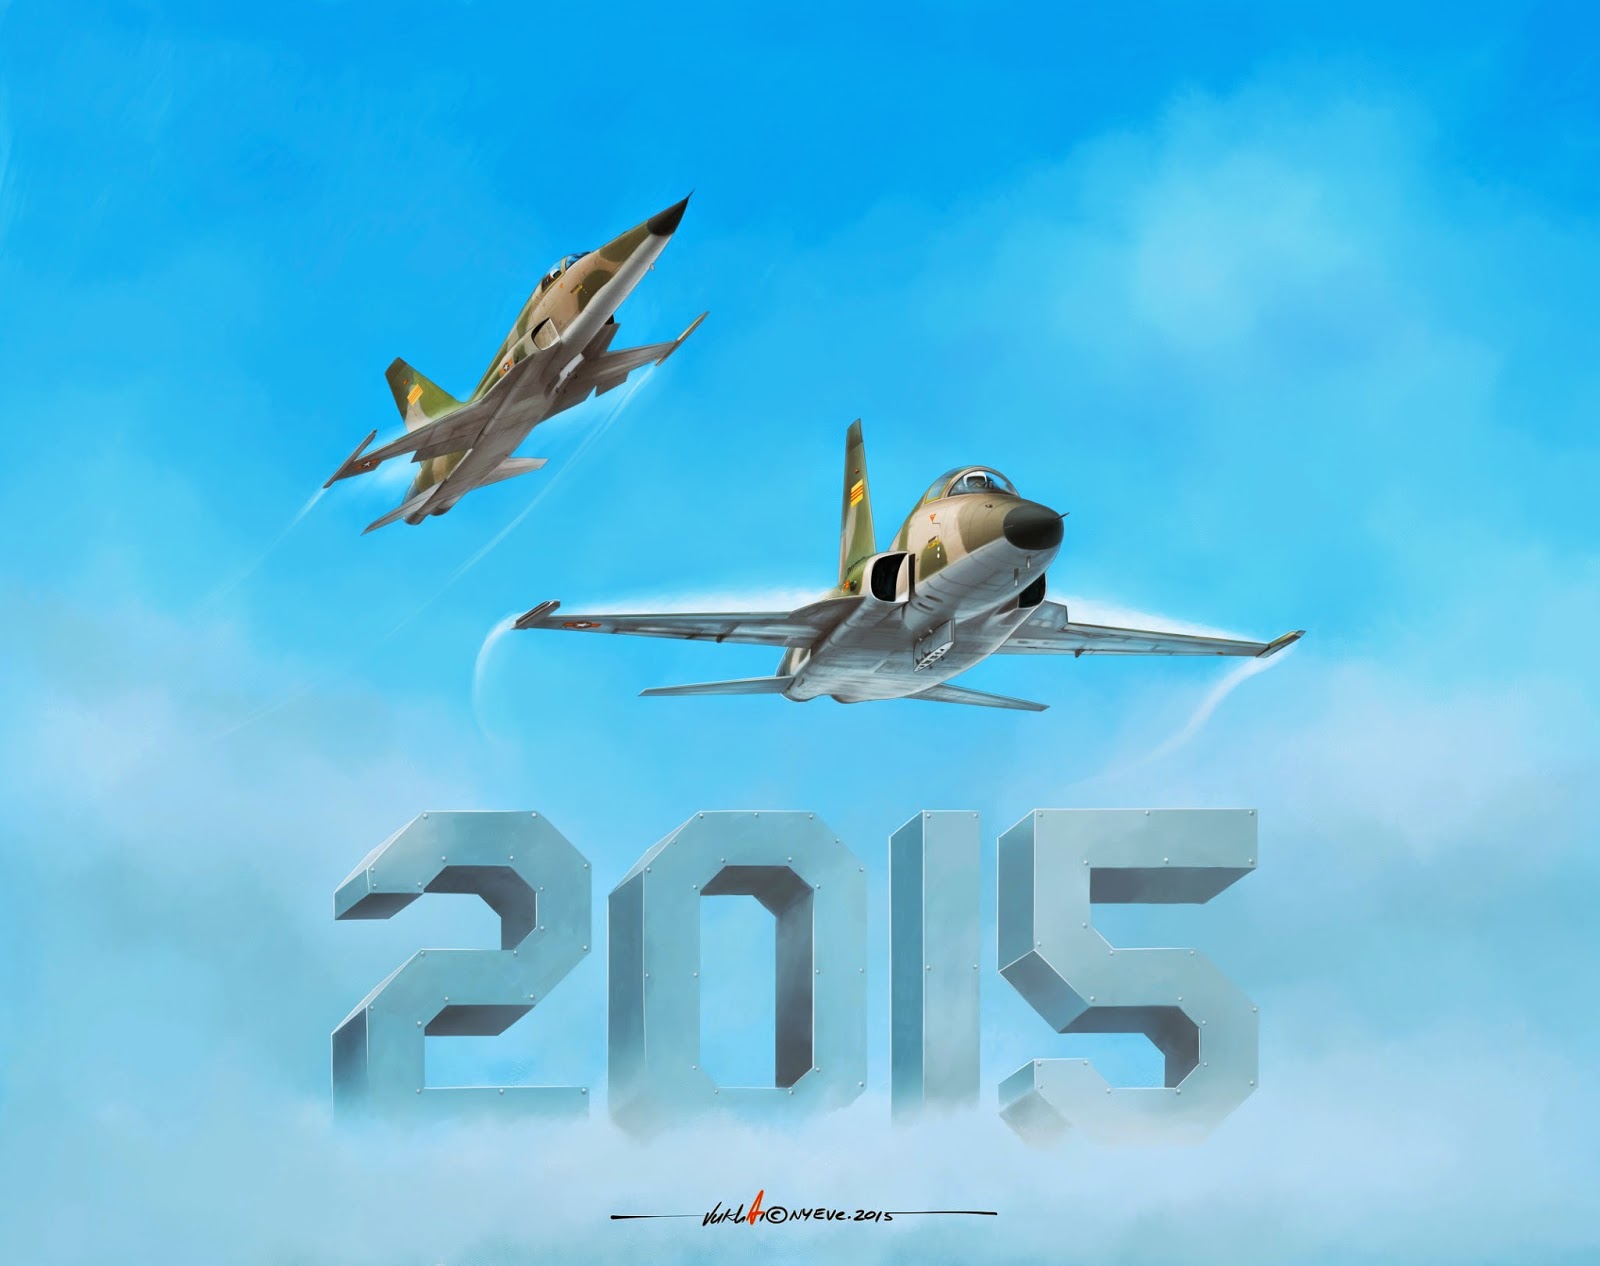
These days...with computer and technologies, we can play more with the models after they're finished and instead of sitting on the shelves or in display cases...we can make them like real aircrafts flying in the sky....and here is my Dragonfly in hot, low level flying in supporting ground troops of the RAVN...

Finish model...

These photos were shot on the roof of my car and use real background...:)


Thursday, December 16, 2010

Dull coat...


When all the weathring washing are done, the whole model and orther bits are sprayed with two coats of dull coat or matt coat (in this case, Gunze clear coat was used) to protect the decals and weathering wash and also get rid of the glossy look from the Future coats...as military aircrafts workhorse are often fainted by weathers....

Washing...


After all the decals are in placed, two coats of Future were applied and dried for 24 hours then I used Pro-Modeller Weathering Wash to wash the whole model. Let it sit for about two hours then rub it back with a damp cloth according to where it should be more or less "weathring".

Decals...

As VNAF decal subjects are rare to find (and often are not accurate) on the market place...so most VNAF modellers preferred to make his own VNAF decals.  Here are the badges of 516 Fighter Squadron on the starboard side of the fin and the 41st Tactcal Wing on the port side...
I airbrushed the napalms with Testor Aluninum buffer metal then polished it with a soft rag...

Auxiilary fuel tanks and ordnance


To achieve the feather edge painting of the auxiliary fuel tanks, I used u-tac to mask as the guide of the pattern then airbrush along the curve line of the mask to get the softness edges instead of airbrush straight on the mask then it would created a sharp edges...  

Canopy and windscreen...


After 2 coats of Future and let it dry for 24 hours, I used vinyl strips to add the canopy and windsreen frame more realistic...

Wednesday, September 29, 2010

VNAF A-37B Dragonfly, 516 Fighter Squadron "Flying Tiger". Monogram 1/48 kit. Continue...

General fuselage and wings dry-fit assembly....
As the kit has nice fit over all, I use "Timber Mate" wood filler for the job, this is an Australian product which also can be used on plastic.  The beauty is that with fine gaps, after fillings and dry the excess filler can be washed with a old soft brush with damp warm water....no sanding required...

VNAF A-37B Dragonfly, 516 Fighter Squadron "Flying Tiger". Monogram 1/48 kit.

"Under shading" with Copic Marker and masking for Squadron Identity fuselage band

516 Squadron band done...

Cockpit dry-fit...
Initial "camo" painting before assembly...